Ilopad for Pop!_OS is published as a Debian package (.deb) in the Ilopad repository. Add the repository once and apt installs it and every later release, the same way it handles the rest of your system.
Add the Ilopad repository
The recommended way. Three commands, and updates arrive on their own afterwards.
Trust the signing key
Fetch the key that apt uses to verify every Ilopad package. The first two lines refresh the package lists and install curl, which a minimal install may not have:
Add the repository
Point apt at the Ilopad repository:
Install Ilopad
Refresh the package lists and install. apt pulls in the runtime libraries it needs:
You can also install Ilopad from the COSMIC Store after sudo apt update: search for Ilopad, click it, and click Install. Enter your password and click Authenticate.
sudo apt upgrade. Every package and every index is signed, and apt refuses anything that does not verify.Start Ilopad
Launch the server from the terminal, or press the Super key, type Ilopad and press Enter:
The first time, Ilopad shows Permission Required, because it needs access to the input device. Click Allow and enter your password. The Ilopad window then opens. Steps 6 and 7 below show these screens.
Install a single release by hand
Use this if you would rather not add a repository. It installs one release and nothing more: Ilopad will not update itself, so you repeat these steps for each new version. Prefer to point and click? On Pop!_OS 24.04, double-clicking the downloaded .deb opens it directly in the COSMIC Store (Pop!_OS’s built-in app store), which installs local packages and their dependencies. No extra tools required.
Find the downloaded package
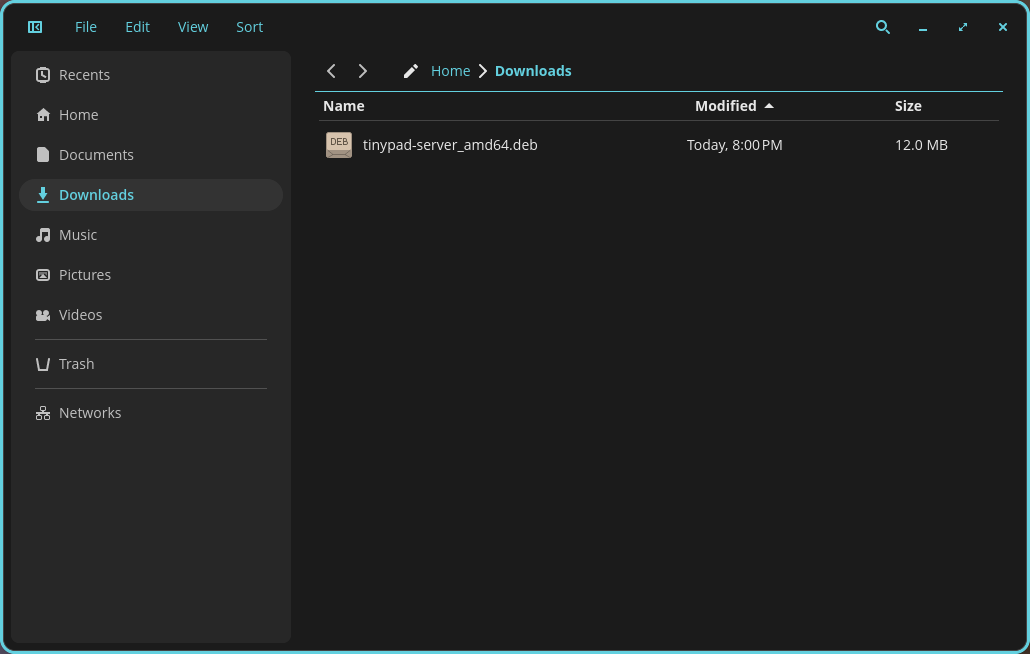
Open Files and go to your Downloads folder. You should see ilopad-server_amd64.deb.
Open the package with the COSMIC Store
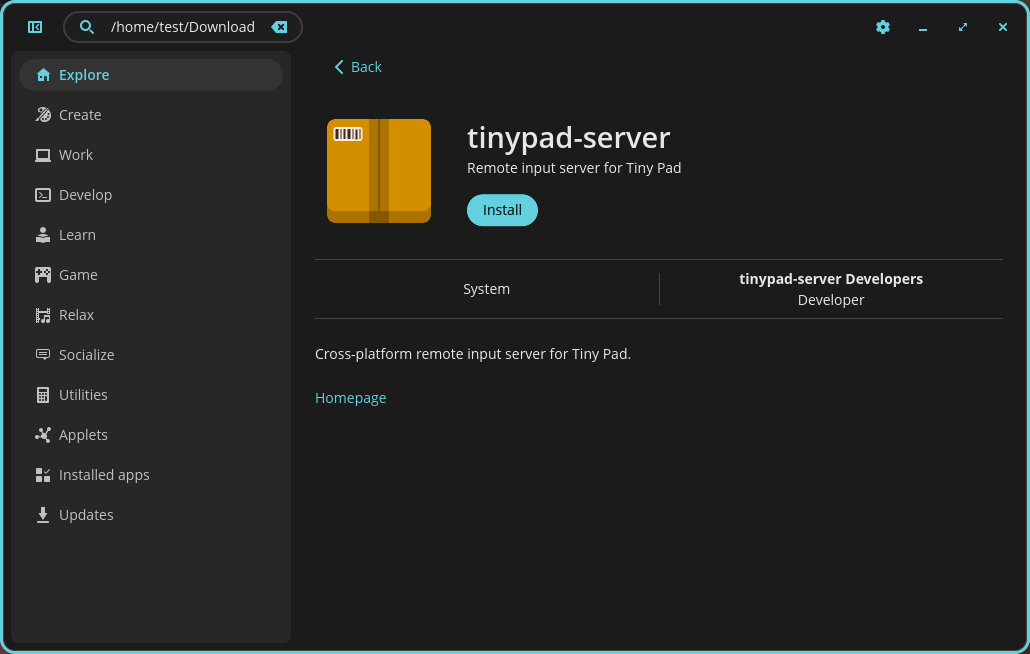
Double-click the .deb. It opens in the COSMIC Store, which shows ilopad-server. Click Install.
Authenticate
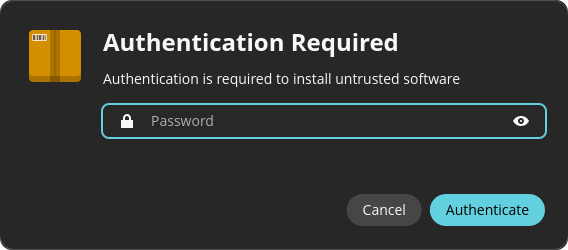
Enter your password to authorize the installation, then click Authenticate.
Finish
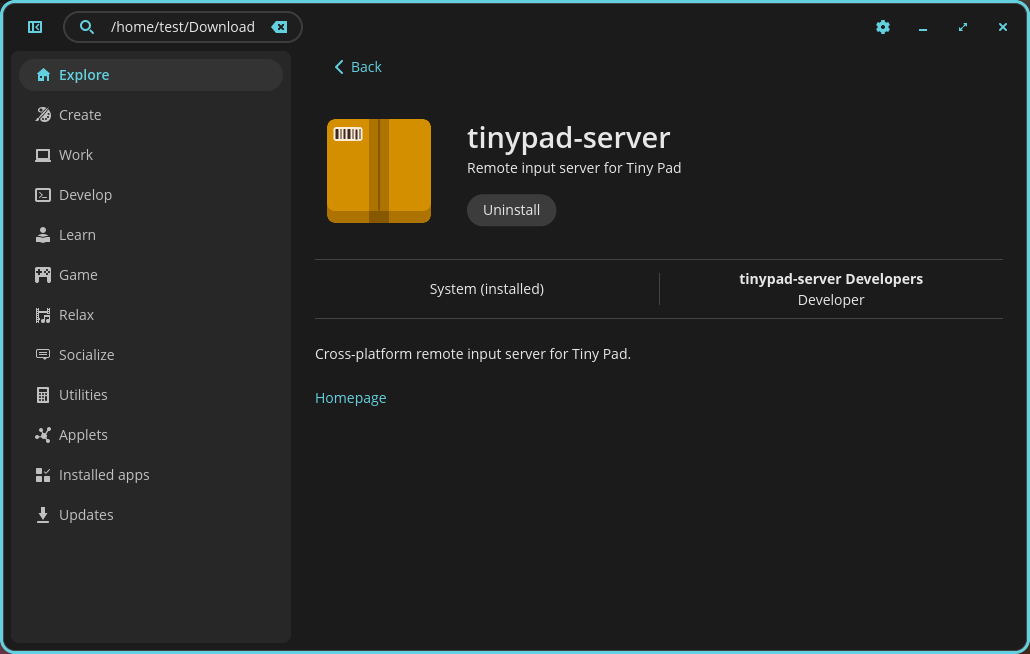
The COSMIC Store installs Ilopad and its dependencies. When the button changes to Uninstall, the install is complete.
Give Ilopad access to input
Press the Super key, type Ilopad and press Enter. The first time, Ilopad shows Permission Required: it makes a virtual mouse, keyboard and pen, and for this it needs access to the input device. Click Allow.
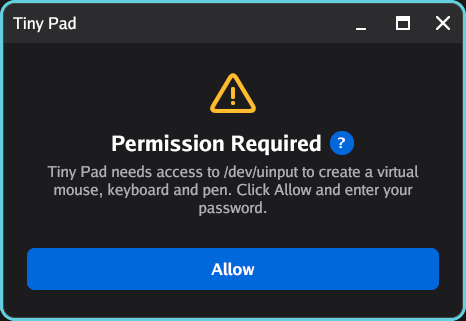
The password dialog says: “Ilopad needs your password to let it control the mouse and keyboard.” Enter your password and click Authenticate.
Pair your iPhone
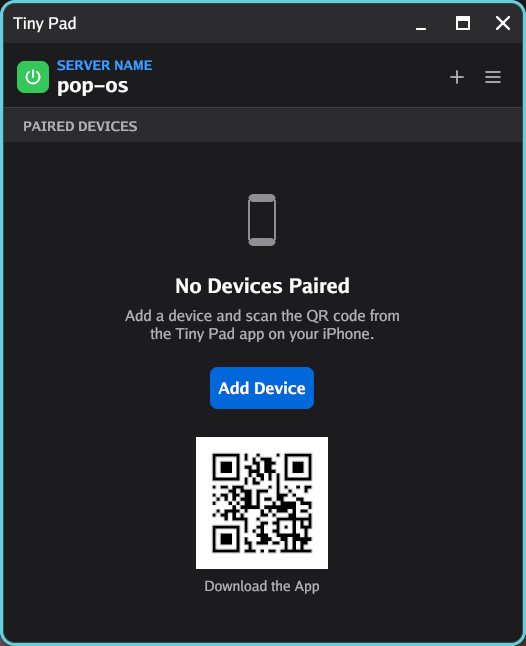
The Ilopad window opens. Click Add Device to pair your iPhone. To start Ilopad again later, press the Super key, type Ilopad and press Enter.
Uninstall
To remove Ilopad, with its settings and the permissions that it added, follow Uninstall on Pop!_OS.